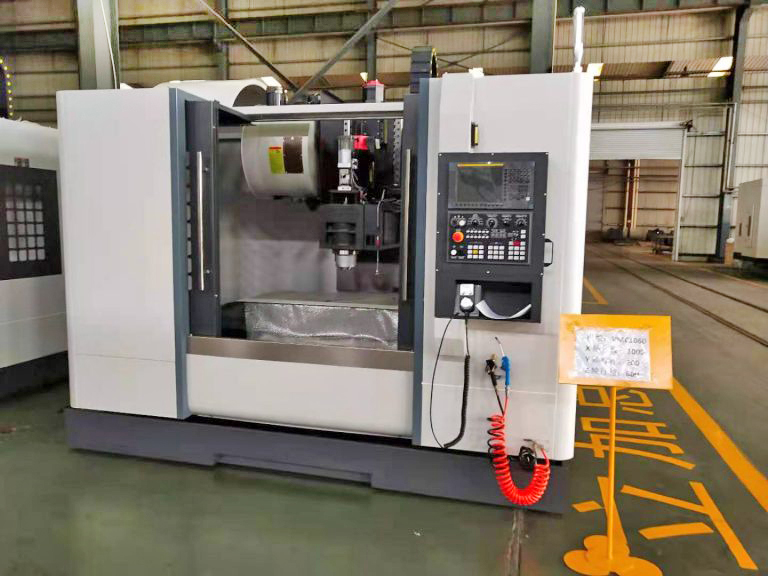
The accuracy of the machining center affects the machining quality, so regarding the accuracy of the machining center, the industry has been researching methods to reduce errors as much as possible. So how to judge the accuracy of a machining center? Let’s talk about 4 aspects.
1. The positioning of the vertical CNC milling machine center specimen:
The test piece should be in the middle of the X stroke and placed along the Y and Z axes at the appropriate location for the test piece and fixture positioning and tool length. When there are special requirements for the positioning position of the test piece, it should be specified in the agreement between the manufacturer and the user.
2. Fixing of CNC milling machine center test piece:
The test piece should be easily installed on a special fixture to achieve maximum stability of the tool and fixture. The mounting surface of the fixture and the test piece should be straight.
The parallelism between the mounting surface of the specimen and the clamping surface of the fixture should be checked. A suitable clamping method should be used to allow the tool to penetrate and machine the full length of the center hole. It is recommended to use a countersunk screw to fix the specimen to avoid interference between the tool and the screw, and other equivalent methods can also be used. The overall height of the test piece depends on the fixing method chosen.
3. The material, tool and cutting parameters of CNC milling machine center test piece:
The material, cutting tool and cutting parameters of the test piece are selected according to the agreement between the manufacturer and the user, and should be recorded. The recommended cutting parameters are as follows:
1) Cutting speed: about 50m/min for cast iron; about 300m/min for aluminum.
2) Feed amount: about (0.05~0.10)mm/tooth.
3) Cutting depth: The radial cutting depth of all milling operations should be 0.2mm.
4. The size of CNC milling machine center test piece:
If the test piece has been cut several times, the external dimension is reduced, and the hole diameter is increased, when it is used for acceptance inspection, it is recommended to select the final contour processing test piece size consistent with that specified in this standard, so as to truthfully reflect the cutting accuracy of the machining center. The test piece can be used repeatedly in the cutting test, and its specification should be kept within ±10% of the characteristic size given in this standard. When the specimen is reused, a thin cut should be made to clear all surfaces before a new finish test is performed before the test is performed.


